How to deploy your Node.js app on Heroku
I am a cloud engineer living in Paris area in France. I'm currently working at Accenture France, helping our customers in their cloud journey.
I love everything related to architecting in the cloud and the security of the resources I deploy.
In this tutorial, we're going to talk about how to deploy a Node.js application on the Heroku platform. Heroku platform is a Platform as a Service (PaaS). A PaaS is one of the three service models of cloud computing. A PaaS is a software development and deployment platform provided by a cloud service provider, that frees its users from tedious work of server operation.
Heroku is part of Salesforce since 2010, one of the precursor of cloud computing. Heroku provides the following service:
- Computing; Heroku Platform
- Data; Heroku Postgres, Heroku Redis, Apache Kafka for Heroku
- Enterprise and Team integration; private spaces to isolate enterprise workloads, integration with enterprise tools
- Connect; to integrate with Salesforce Customer Relationship Management (CRM) software
Heroku has four pricing plans:
- Free and Hobby; for personal projects and to test ideas (PoC, MVPs)
- Production; for production apps
- Advanced; for complex apps
- Enterprise; at this stage you need to contact Heroku sales for more information
Heroku packages and deploys your application in a container called Dyno. Heroku offers two types of deployments:
- web; accessible from the outside world
- worker; not accessible from the outside world
Heroku plugin systems (add-ons) allows you to extend your application's functionalities and use other specialized services for operation, authentication, security, ... Heroku marketplace has 200+ add-ons on its marketplace to date.
Now that we know more about the Heroku platform, let's move onto our main subject: How to deploy a Node.js app on Heroku. Before going any further, let's stress that this tutorial is not about how to develop a Node.js app. Even though this tutorial is about Node.js app, some of its content are applicable to apps developed in other first class languages supported by the Heroku Platform: Python, Go, Java, Clojure, Scala, Ruby and PHP.
For the remainder of this article, you'll need a Heroku account, a computer with access to the internet and git installed.
Heroku CLI install and authentication
We create Heroku resources via the console or web interface, using the CLI or with Terraform (Infrastructure as code).
In this tutorial, we'll use the CLI to create our Heroku resources. Please head over the Heroku website for install instructions.
To create resources in our Heroku account, we need to be authenticated. To do so, we execute the following command:
heroku login
This will open the login window (figure 1), in your default browser for you to authenticate.
 Figure 1: Heroku login
Follow the login process and enter your credentials. Once you're logged in, you get the message below (figure 2)
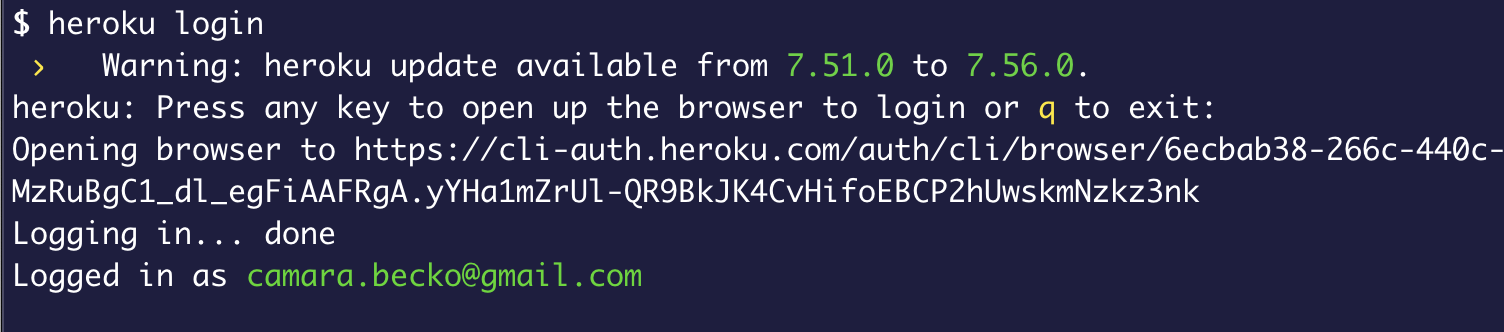 Figure 2: Login confirmation
Now that we're logged in, we can now proceed with the deployment of our Node.js application.
Create Heroku app
To deploy our app, we need to first create a Heroku construct called app. It is this construct that will host our code a make it available to the rest of the world.
If you're following this tutorial from an existing Node.js application, please move to the root of your project. Make sure it's a git project. Execute the following command to initiate git in your folder: git init.
If you don't have a Node.js project, I got your back. Please clone this sample project. The sample project is simple Node.js app that greets you loudly every time.
# Clone repo
git clone https://github.com/beckojr/node_example.git

# Move to the root of your project
cd node_example
# Create Heroku app in EU region
heroku create --region=eu
 Figure 3: Create heroku app
The heroku create command creates a Heroku app in the account we're logged in. In the same process, it creates a git repository on Heroku's git servers and sets it as a remote -heroku by default - of your current git project.
 Figure 4: Git remotes
Heroku provides an URL from which our future app will be accessible. As of now, you'll not be greeted loudly. You only get a default welcome message (figure 5) from Heroku since we have nothing deployed yet.
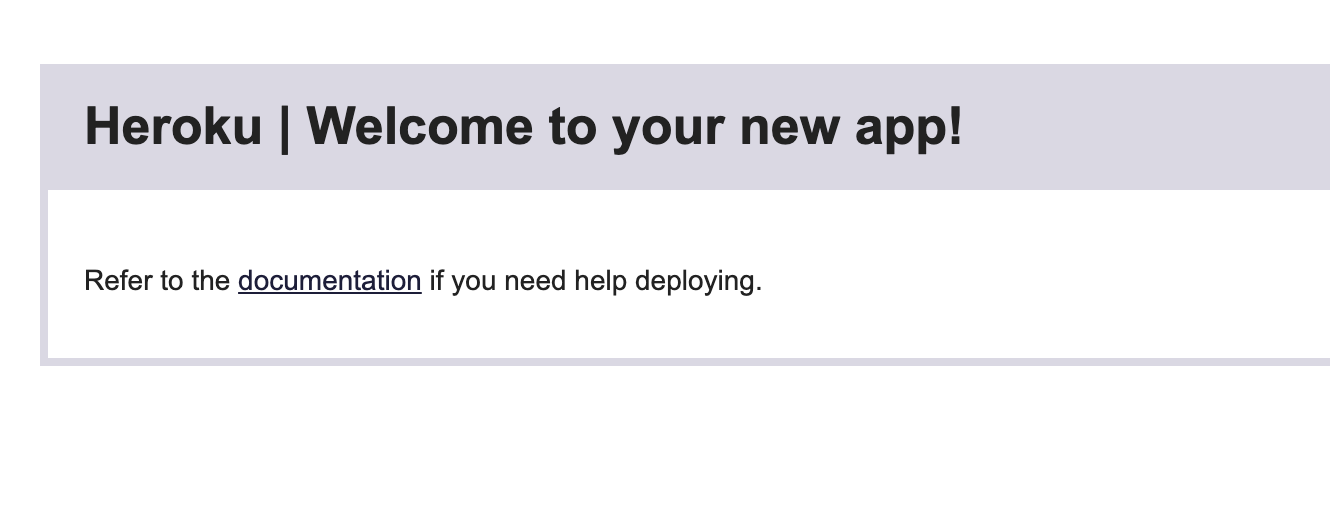 Figure 5: Heroku welcome message
From Heroku console, you'll see the newly created app in your dashboard
 Figure 6: Heroku dashboard
Now that our Heroku app has been created, we're now set to deploy our world-changing Node.js application,
Deploy your Heroku app
Heroku provides the following deployment methods:
- Git push; your app is deployed when you push to
herokuremote - Dockerfile; your app is built following a provided Dockerfile
- Heroku integration; your app is deployed through integration with external CI tools.
Deploying your app with the git push method is as straightforward as pushing your code to the remote branch heroku created in the step before. Once your code is successfully uploaded to the remote repository, Heroku automagically starts the build and deploy of your code. The build process is actually taken care of by an underlying technology called: buildpack. The simplicity of this build and deploy process is in big part what has given Heroku its recognition and its wide adoption amongst developers.
To build your code, Heroku needs two files at the root of your project:
- Procfile
- package.json
The Procfile, is an extension-free file in which you indicate the type of application you want to deploy (web or worker), and the command to start the application. The package.json file is searched for by the buildpack to build our app as a Node.js app.
# Procfile example

web: node index.js
The next logical step of our tutorial is to deploy our application with git push heroku
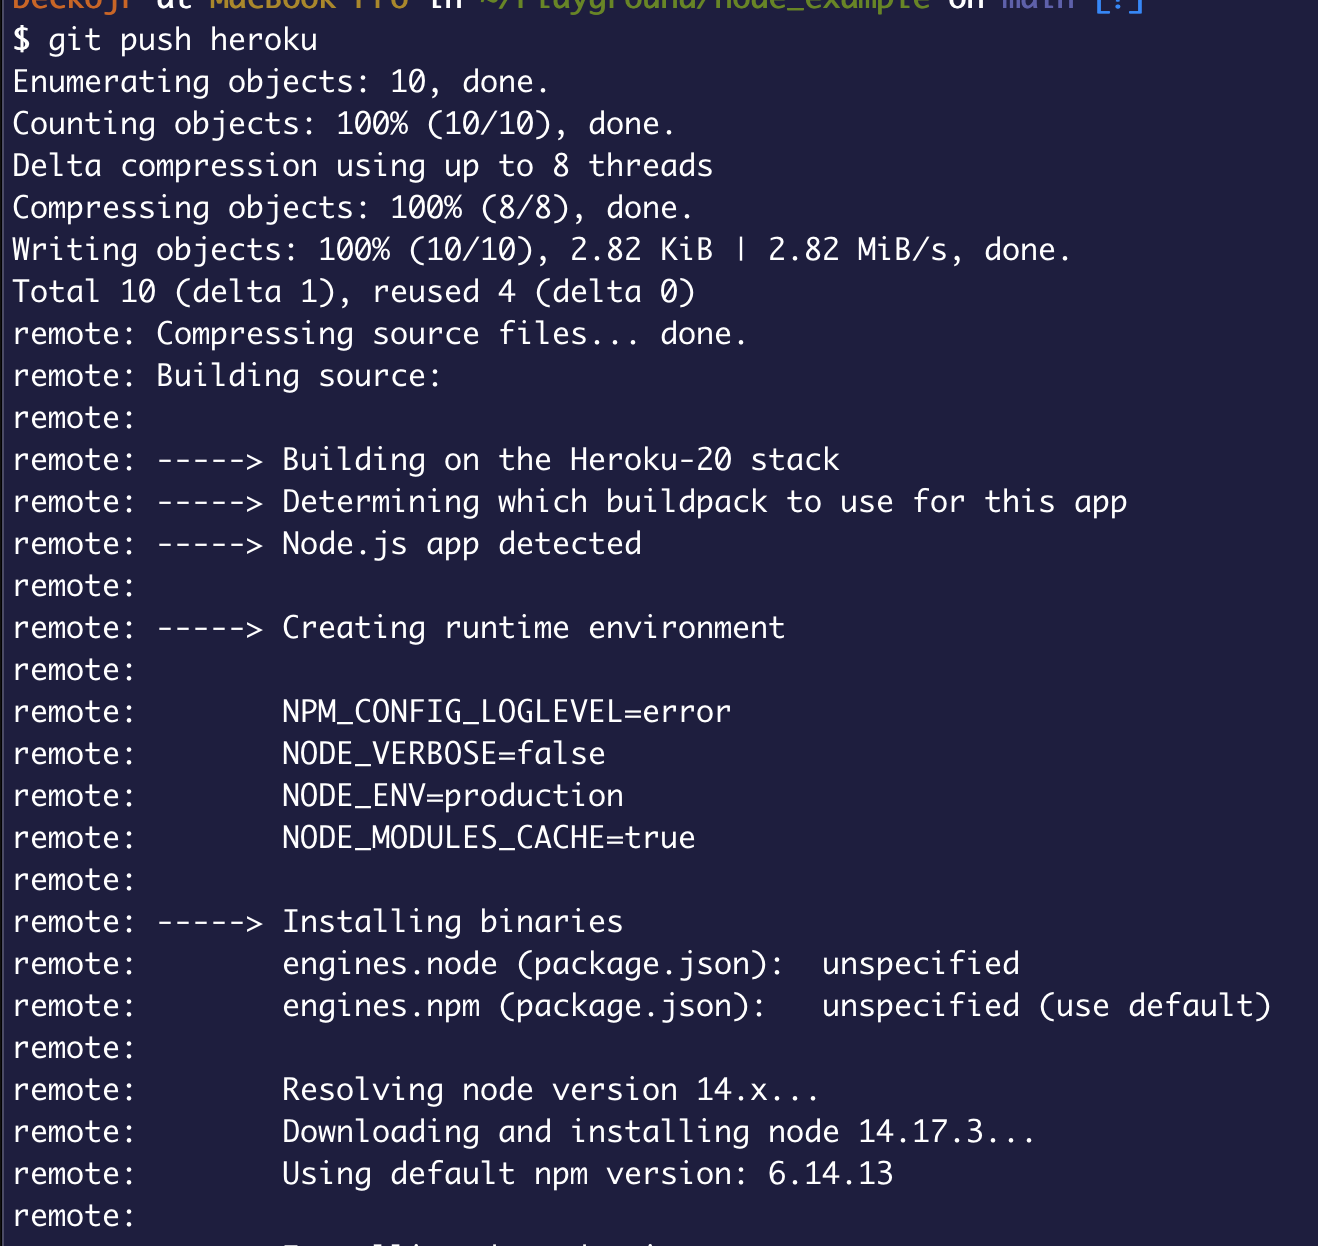 Figure 7: git push and app build and deploy
We're now able to access our application at the url provided by Heroku at app creation
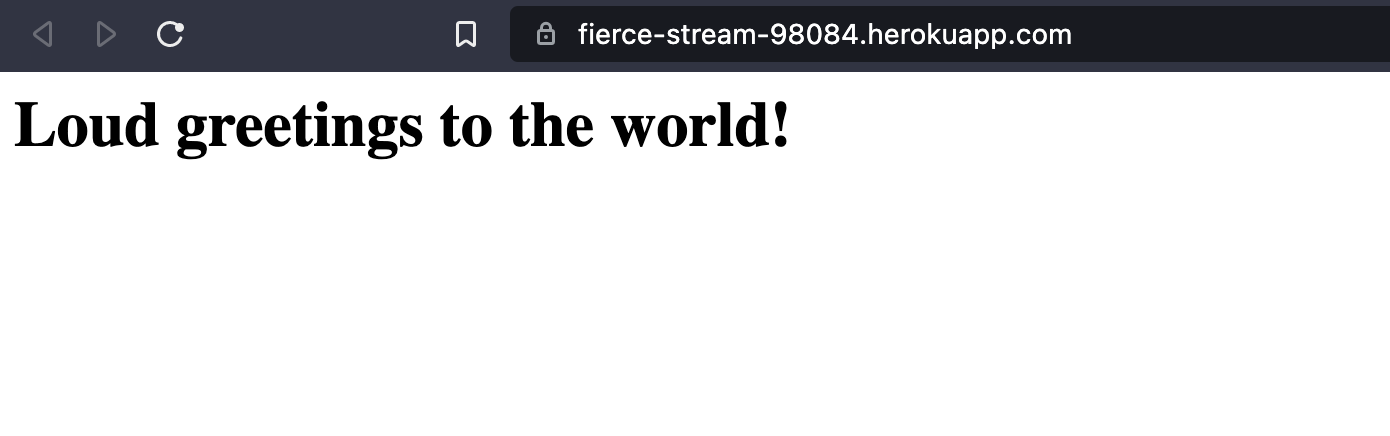 Figure 8: Node.js app
Conclusion
Here ends our tutorial. During this tutorial, we've deployed in a very straightforward way, a simple Node.js application. Beware the size of your repo with this method. Even though Heroku accepts up to 600+ MB in project size, the build could take longer and times out.
Before developing any functionality that's not core to your business and could be externalized, it could be interesting to look at Heroku marketplace. You could find an add-on amongst the 200+ available that fits your need.
Let's finish this tutorial with a quote from John Allspaw
... software is not something you simply build and launch - it's something you operate
Foreword of John Allspaw in Effective devops